A creamy layer of frothed milk can transform your regular coffee into a luxurious café-style beverage. Whether you’re making a latte, cappuccino, flat white, or a comforting hot chocolate, good milk froth enhances both the texture and experience of your drink.
But what if you don’t own a fancy espresso machine with a steam wand? Don’t worry—you can still froth milk at home using simple tools and a few clever techniques.
In this guide, you’ll learn how to froth milk without a machine, the pros and cons of each method, and tips to get that smooth, velvety foam like a barista.
What Is Milk Frothing?
Frothing milk means introducing air into it, creating a light foam that sits on top of—or blends into—your drink. When done correctly, frothing produces tiny bubbles (called microfoam) that give milk a silky and rich texture.
There are two types of froth:
- Dry Foam – Airier and firmer, ideal for cappuccinos.
- Wet Foam / Microfoam – Creamier and smoother, perfect for lattes and flat whites.
The goal is to froth your milk without scalding it and to create fine, even bubbles for the best texture and taste.
Best Types of Milk for Frothing
Not all milk behaves the same. Some froth better than others due to their fat and protein content.
Dairy Milk:
- Whole Milk: Best for creamy microfoam; stable and rich.
- 2% / Semi-Skimmed: Froths well, slightly lighter texture.
- Skim Milk: Creates the largest volume of foam, but less creamy.
Non-Dairy Milk:
- Oat Milk: One of the best plant-based options for frothing.
- Almond Milk: Froths well but can separate quickly.
- Soy Milk: Consistent foam, especially barista versions.
- Coconut Milk: Thinner froth with a unique flavor.
Look for barista-style plant milks, specially formulated to froth better.
6 Easy Methods to Froth Milk Without a Machine
1. French Press
How It Works:
The plunger mechanism helps incorporate air into hot milk, creating smooth froth.
Steps:
- Heat milk on the stove or microwave to around 140–150°F (60–65°C).
- Pour warm milk into the clean French press.
- Pump the plunger up and down quickly for 20–30 seconds.
- Let the foam settle for 30 seconds, then pour.
Pros:
- Great microfoam
- Easy to control
- Ideal for lattes and flat whites
Cons:
- Can overflow if overfilled
- Requires cleaning afterward
2. Mason Jar
How It Works:
Manual shaking introduces air, creating a light froth.
Steps:
- Fill a glass jar halfway with milk.
- Screw on the lid tightly.
- Shake vigorously for 30–60 seconds.
- Remove lid and microwave for 30 seconds to stabilize the foam.
Pros:
- No special tools needed
- Fast and simple
Cons:
- Foam is airy and large—more suitable for cappuccinos
- May not be as silky as microfoam
3. Handheld Milk Frother
How It Works:
Battery-powered frothers use a spinning whisk to foam milk.
Steps:
- Heat milk in a mug or small pitcher.
- Submerge the frother and turn it on.
- Move it around for 15–30 seconds, just below the surface.
- Let the foam stabilize before pouring.
Pros:
- Affordable
- Works well with all types of milk
- Compact and portable
Cons:
- Requires batteries
- Can be messy if overfilled
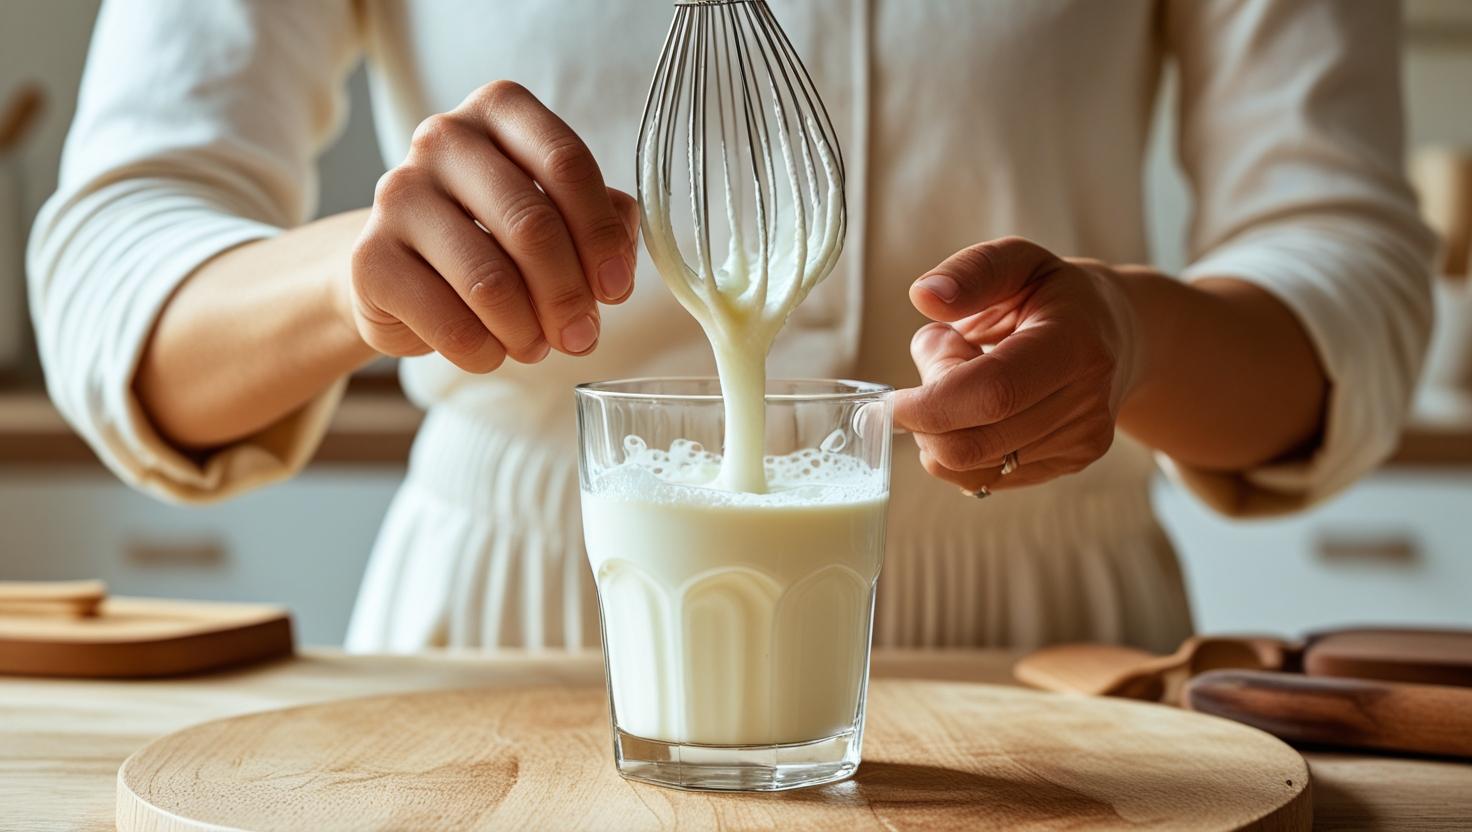
4. Whisk (Manual or Electric)
How It Works:
A good old-fashioned whisk can froth milk with elbow grease or electricity.
Steps:
- Heat your milk.
- Use a balloon whisk or hand mixer to whip the milk briskly.
- Whisk until the milk doubles in volume.
- Let it settle before use.
Pros:
- Simple
- No batteries required (manual)
- You likely already own one
Cons:
- Takes effort
- Less consistent foam
5. Blender or Immersion Blender
How It Works:
Blenders incorporate air rapidly into milk for a quick froth.
Steps:
- Heat milk in a saucepan or microwave.
- Pour into a blender or keep it in the pot if using an immersion blender.
- Blend for 15–30 seconds until frothy.
- Let sit before pouring.
Pros:
- Quick and effective
- Good foam consistency
Cons:
- More dishes to clean
- Can splatter if overfilled
6. Aeropress (Bonus Method)
While not designed for frothing, the Aeropress can be used creatively.
Steps:
- Place warm milk into the Aeropress chamber (no coffee).
- Insert the plunger slightly and press slowly.
- The pressure creates light froth on the way out.
Pros:
- Good for travel
- Multipurpose tool
Cons:
- Light foam only
- Not ideal for microfoam
Heating Milk: Do’s and Don’ts
Do:
- Heat milk to 140–150°F (60–65°C) for best frothing.
- Use a thermometer if you want precision.
- Let milk sit for 30 seconds after frothing to stabilize bubbles.
Don’t:
- Boil milk—it loses sweetness and becomes unstable.
- Froth cold milk (unless you’re making cold foam).
- Reheat frothed milk—it will collapse.
Tips for Better Results
- Use fresh milk for better texture.
- Swirl and tap your frothing container after foaming to smooth out large bubbles.
- Pour the milk slowly to control how much foam lands in your cup.
- Practice consistency—every method gets easier with repetition.
Which Method Is Best for You?
| Method | Foam Quality | Ease of Use | Best For |
|---|---|---|---|
| French Press | Excellent | Moderate | Lattes, flat whites |
| Mason Jar | Fair | Easy | Cappuccinos |
| Handheld Frother | Good | Easy | Everyday use |
| Whisk | Moderate | Moderate | Beginners |
| Blender | Good | Easy | Large batches |
| Aeropress | Light | Moderate | Travel, experimentation |
Final Thoughts: No Machine? No Problem
You don’t need an expensive espresso machine to enjoy a café-style drink at home. With a little creativity and the right technique, you can froth milk using everyday kitchen tools and still get delicious, frothy results.
Whether you like your drinks light and foamy or silky and smooth, there’s a frothing method that fits your style—and your kitchen.
So warm your milk, choose your method, and get ready to impress yourself (and your guests) with café-quality drinks made right at home.